
Showing posts with label Sizzix. Show all posts

Saturday, 27 September 2008

I can't believe it has been 14 years!


It was my Wedding Anniversary on Wednesday, and as the title says, it has been 14 years since we got married! For once, I hadn't made a card, as I was so busy last week, but Paul knew I would make him 'something'! This is a tiny canvas, 8cm x 6cm that my friend got for me from LB Crafts. I have made the reverse into a niche, and I am going to use it for something personal and probably slushy for Paul!

Colour: Glimmer Mist, Stazon, Distress Ink, Versafine, heat embossing, Paint Dabber
Stamps: Elusive Images, Studio g (i)
Other: self-adhesive metal tape, tissue paper, old book page, Sizzlits tag die, embossing tool, drinks can

The little word plate was made by cutting up a drinks can and heating it in a gas flame, and I was told about this by Tasha. It was fun to do! ( Yes, that's my handwriting again :D ) I also planned this piece to fit in with Wednesday Stamper, where the theme is pattern. The damask background was made by stamping a heart stamp three times, close together.

Friday, 12 September 2008

Altered Board Book- Next Page


My altered board book is still happening, in with all of the other projects I have ongoing. This is the third page I have done, although it is the second in the book. I am working from both ends towards the middle, to make sure I don't make a mistake with the layout!

Colour: Paint Dabbers, Versamagic, Ranger white pen
Stamp: Daisy Bucket (a RAK from Jean, thanks hun!)
Papers: Crate Paper, and some bits from a pack I got in France
Other: Brads (coloured with Paint Dabbers), chipboard letters from Lakeland's sale, Ellison Block Party alphabet

I have other projects on the go, but I am using copious quantities of Glossy Accents, so each stage needs a whole night to dry. Grr!

Monday, 28 July 2008

Another Page for my Altered Board Book


This is the last page of my altered board book- I thought it was safest to work in from both ends, and then decided what to do in the middle if my maths is wrong! And it really isn't my style to start at the beginning and just work straight through to the end, like I should do! This page actually has no Glimmer Mist at all, although it does have Paint Dabbers, dabbed on to create lots of texture. It also uses some of my favourite Paperartsy stamps. stamped onto the letters to create a pattern, and onto the book itself. Everything else is pretty straightforward, for a change, I must have been having a calm and chilled out day!

Stamps: All Paperartsy
Colour: Versamagic, Brilliance, Paint Dabbers
Papers: Basic Grey, Crate Paper
Other: Sizzix Sizzlets alphabet (can't remember which one as it is my friend's), Chipboard letter from cheap shop.

Tuesday, 29 April 2008

This Month's ATCs


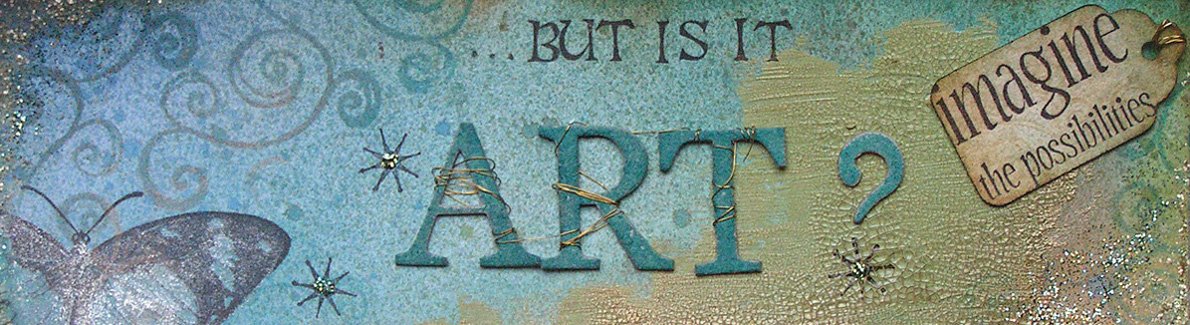
The theme for this month's ATCs over on UK Stampers was 'Incorporating a tag', and I actually started these with two weeks to go before the deadline, as I was feeling inspired. Not like me at all, (the early start, not the inspiration!) as I usually find that time pressure helps me to work. However, I found once I started that I was *really* inspired, and took my time over these. I am really pleased with the outcome; I really feel that I expressed myself artistically, and I can't believe I made them! Let's hope it wasn't a fluke ;-)
I even made a slide show, so all of the hidden details can be seen:


Colour: Distress Inks in Broken China and Vintage Photo, Versafine, Moonshadow mist, Silver detail embossing powder, Cosmic shimmer lustre pearl embossing powder
Stamps: Paperartsy, Inkadinkado, Crafty Individuals
Embellishments: Star gems from Hobbycraft, Turquoise gems by Pebeo, pins, beads, wire, and ribbon from my stash
Other: Sizzix originals tag die, Sizzlits mini-tags die, Making Memories metal sheets (used to make mini-tags), Vellum from Lakeland, Silk dupion from Fabric Land, Vintage paper from old book
Thanks for looking!

Monday, 3 September 2007

Do not adjust your set...


I have made a cute card! I know this is not my usual thing, but a soon-to-be five year old girl would not really appreciate alcohol inks and image transfers (yet!). It's a waterfall card, and for anyone who hasn't come across one of these before, Splitcoast Stampers has the best instructions that I have found.
The base card is a plain white DL size card, stamped with Aud Design flowers and Brilliance Pearlescent Orchid ink. The squares are also white card, covered with paper from Karen Foster Design, with fun foam die-cut letters (cut in my Sizzix Sidekick, it works fine!) The band across the front is fun foam, held on with brads, and the strap which is the mechanism is covered with Karen Foster paper, and stamped with my MSE clear alphabet. I haven't taken a half-open photo, but as you pull the fun foam flower, the letters flip to spell 'Tyler'.
I took a photo of the inside of the card too. With all of my cards, I like to add a computer generated insert, and recently I have started stamping inside as well. I think it adds a nice finishing touch. And I do the envelope, does it sound like I just can't stop! This card is in the post now, so I did stop...eventually!

Saturday, 16 June 2007

Wednesday Stamper- Polka Dots

I am a little later this week with my entry for Wednesday Stamper, but here it is. I love looking at other peoples work, as it gives me ideas and inspiration, and so far there are 72 entries! I have seen some of them already as I have been browsing blogs each day, but I think I may have to settle in with a hot drink and look at the rest. I don't want to miss anything!
This card was inspired by a baby book Dan has, and uses a photo that Rein posted on her blog for people to play with. Thanks, Rein! She has challenged people to use this image and post the link to her blog, so this card fulfills two challenges.
The spots were stamped with a Judikins cube which has four sizes of solid spots. The larger spots were stamped in Stazon onto a white card, the smaller spots were stamped in various colours of Brilliance and Versamagic onto black card, then translucent buttons glued over the top. The writing was added to the photo using Paint Shop Pro before printing, (my handwriting isn't arty enough!), and the little tag was cut using a Sizzix die, then I drew the tiny heart.
Thanks for the challenges!